


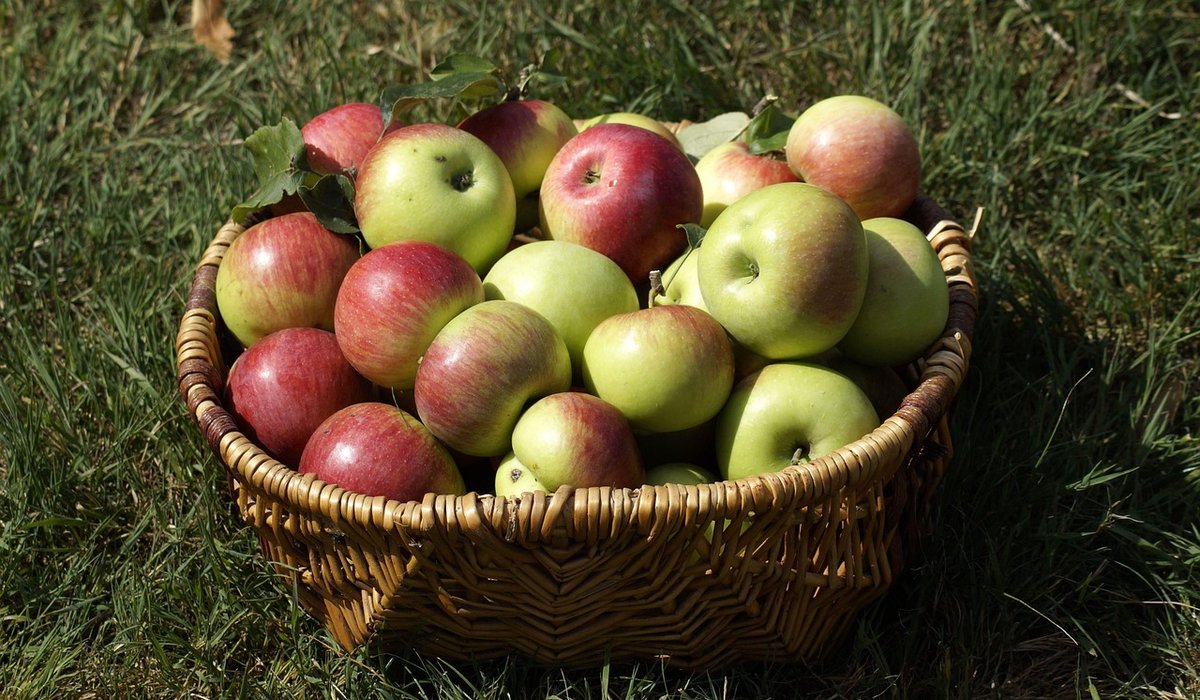
Why a school orchard earns its place
An orchard is one of the few school projects that gets better every year without anyone having to rebuild it. Plant a dozen trees on a strip of underused grass and within four or five years you have shade in summer, blossom in spring, a harvest for the kitchen and a genuine slice of British food culture on the doorstep. Pupils who plant a tree in Reception can pick from it in Year 6 — that continuity is hard to buy any other way.
The practical case is just as strong. Apple trees suit the school year: planting happens in the quiet winter term, blossom arrives in the busy summer term, and the harvest lands neatly in September and October when classes are settling in. Fruit can go straight to the school kitchen, to a juicing day, or home with families. And for secondary schools or PTAs running a community event, a small pressing setup opens the door to proper cider culture — the West Country and Herefordshire tradition of shared presses, named varieties and long autumn afternoons.
Choosing the right site and the right trees
Apples need light and air more than they need rich soil. Aim for six hours of sun a day and avoid the damp hollow at the bottom of the field where frost sits. A south-facing boundary or a strip along a playing field edge works well, provided it is at least three metres from the fence so mowers can get round.
For most schools, MM106 is the sensible rootstock: it makes a tree of about three to four metres, needs only a light stake after establishment and crops reliably on ordinary soil. Where space is tight, M26 gives a smaller tree that fits a courtyard or a raised bed. Space them three to four metres apart, with four metres between rows if you plant more than one row.
- Early eaters: Discovery, Katy, Worcester Pearmain — ripe in late August and September, perfect for the start of term.
- Keepers: Ashmead's Kernel, Egremont Russet, Orleans Reinette — picked in October, eaten through to January.
- Cookers: Bramley's Seedling, or a local cooking apple if your area has one.
- Pollination: check flowering groups and plant at least two varieties from the same or adjacent groups. A crab apple such as John Downie makes a generous pollinator.
Permission, budget and the planting day
Start with the head teacher, the site manager and the premises committee. Ask three questions: can we dig here, who will mow around the trees, and who holds the budget line for grounds? A written note in the school development plan protects the orchard when staff move on.
Bare-root maidens ordered in autumn are the best value — roughly the price of a couple of textbooks each. Add a sturdy stake, a rabbit guard, a mulch mat and a bag of well-rotted manure per tree. A dozen trees, guards, stakes and mulch will usually come in under the cost of a single interactive whiteboard, and a parent fundraising stall or a small grant from a local gardening society can cover it.
Plant between November and March when the ground is workable and not frozen. Dig a hole wider than it is deep, spread the roots, keep the graft union a hand's width above soil level, firm in well and water generously. Let every child who plants a tree scatter a handful of mulch and tread it down — that small ritual is what they remember.
Labels, maps and a sense of ownership
Labelling is where the learning sticks. Give each class a tree, then have pupils make two labels: a bright, laminated one for the fence line and a durable engraved or metal tag wired loosely to a branch. Include the variety name, the rootstock, the year of planting and the class. A hand-drawn orchard map pinned in the corridor, updated each year, teaches scale and position as neatly as any worksheet.
Older pupils can build a simple record for each tree: blossom date, first pick, weight of harvest. Kept year on year, that becomes real data for science and maths — and a quiet demonstration that weather and yield are connected.
A year of seasonal care
- Winter: prune young trees to build an open goblet shape, remove broken wood, top up mulch in a ring clear of the trunk.
- Spring: watch for blossom, hand-pollinate with a soft brush in a cold spell, and hang pheromone traps for codling moth by late May.
- Summer: water young trees deeply once a week in dry spells, thin crowded fruitlets in July so the rest size up.
- Autumn: harvest in stages, store keepers in a cool dark cupboard on slatted trays, and hold a juicing day.
Keep a rota on the staffroom wall so jobs do not fall to one keen teacher. Fifteen minutes a week with a small group is plenty.
Harvest, the kitchen and a taste of cider culture
When the crop arrives, weigh it with the children and carry it to the kitchen. Stewed apple with school lunch tastes different when you grew it. Surplus fruit can be pressed — a hand-cranked scratter and press borrowed from a local orchard group is enough for a primary school — and the juice pasteurised or frozen for later.
Older pupils and the PTA can use the same press for a community apple day, and cider making, where it happens, stays firmly with the adults: it is a slow craft of named varieties, tannin and patience, and it links the school orchard to a British tradition stretching back centuries. Whether your trees end up in crumble or in a demijohn, the point is the same. A school orchard turns a patch of grass into a place where children learn that good things take years, and that the work is worth it.


Leave a reply