


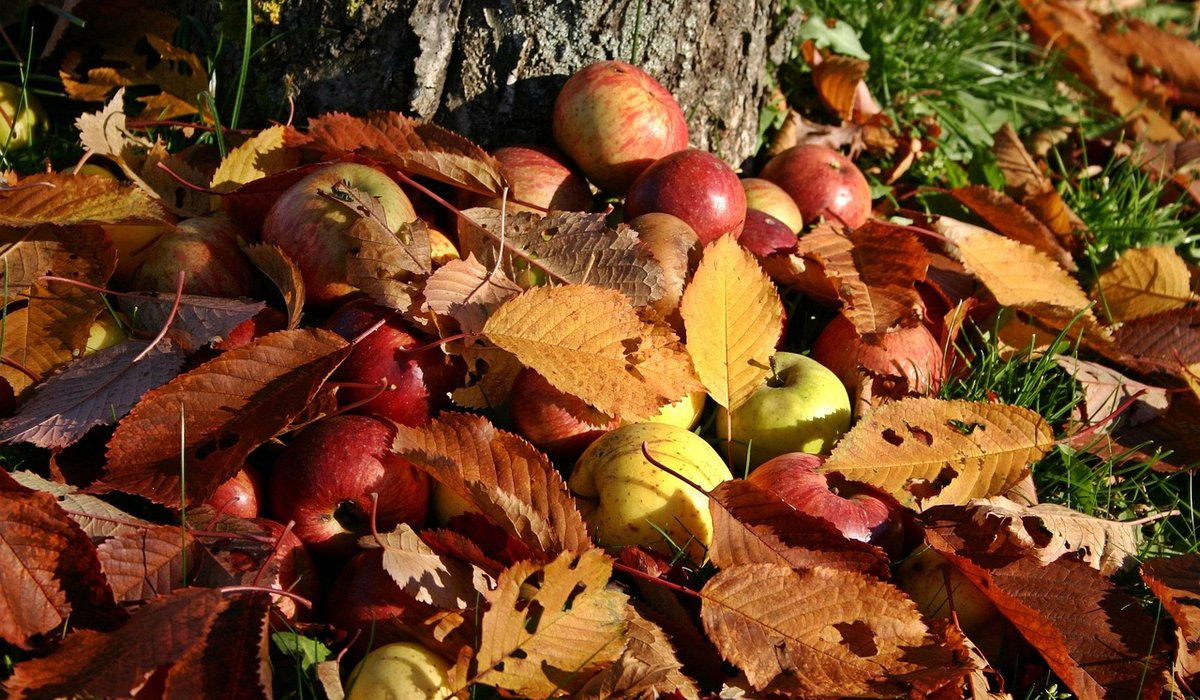
Why windfalls are worth the bother
Every autumn, kitchen gardeners across Britain face the same quiet dilemma: the tree has dropped more fruit than anyone can reasonably eat, and the ground beneath it is turning brown and soft. Most of it ends up on the compost heap. But windfall apples are the traditional backbone of farmhouse cider, and with a little patience you can turn a modest bag of them into something genuinely drinkable.
The catch is that windfalls are, by definition, bruised, muddy and sometimes half-rotten. That matters more than beginners expect. A single mouldy apple can taint an entire demijohn, and the off-flavours that come from poor sorting are the main reason home cider tastes harsh rather than fresh. Treat the sorting stage as the real work and the rest of the process becomes surprisingly relaxed.
Sorting the fruit properly
Tip your apples out onto a tarpaulin or a clean table and go through them one at a time. You want fruit that is ripe, sound and dry. Bruising is fine — indeed, some crushing actually helps release juice — but anything with blue-grey mould, black rot or a sour, fermented smell goes straight into the bin, not the compost, so the spores do not linger near your pressing area.
Use these simple rules as you work:
- Discard any apple with visible mould, even if only a small patch on one side.
- Cut out bruised and wormy sections with a sharp knife and keep the clean flesh.
- Reject fruit that is still hard and green; under-ripe apples give thin, sharp, acidic juice.
- Rinse everything in clean water and dry it with a cloth before pressing.
- Set aside a few soft, over-ripe apples — around one in ten — to add body and sweetness.
Windfalls are often a mix of varieties, which is no bad thing. A blend of sharp cookers, sweet eaters and a few bitter, tannic crabs makes a far more interesting cider than any single variety. If you have a crab apple tree nearby, a handful of those tiny fruit will add the astringency that gives real cider its structure.
Getting juice out of the fruit
You do not need a proper cider press to start. A clean, food-grade bucket and a sturdy wooden masher will do for small quantities, though the yield is lower and the work is harder. The traditional method is to mill the apples into a pulp — a "pomace" — and then press it. A food processor, a strong blender or even a clean spade on a hard surface can all serve as a rough mill.
Once you have pulp, wrap it in a clean muslin or a purpose-made pressing cloth and squeeze. A proper basket press will extract sixty to seventy per cent of the fruit's weight as juice; hand squeezing might give you half that. Either way, aim for a juice that runs cloudy and amber-brown. That colour comes from oxidation and is entirely normal.
For every four and a half litres (one gallon) of juice, add one Campden tablet crushed and dissolved, then leave it covered for twenty-four hours. This suppresses wild bacteria and gives your chosen yeast a clean start. Serious traditionalists skip this step and rely on wild yeasts alone, but the results are unpredictable and often vinegary.
Fermenting at home
Pour the treated juice into a sterilised demijohn or food-grade fermenting bucket, leaving a good few inches of headspace for the foam. Add a cider or wine yeast — champagne yeast works well and ferments dry and crisp — along with a teaspoon of yeast nutrient to keep things moving. Fit an airlock and keep the vessel somewhere between 15°C and 20°C, out of direct sunlight.
Fermentation should kick off within two or three days with a steady burble through the airlock. Primary fermentation takes roughly one to two weeks. When the bubbling slows to a stop, rack the cider off the sediment into a clean demijohn, leaving the lees behind. If you want a sweeter cider, this is the moment to add a little sugar syrup or to stop fermentation with potassium sorbate, since dry cider is the natural result otherwise.
Leave it to mature for at least two months, ideally until spring. The rough, yeasty edges soften considerably with time.
Bottling, conditioning and keeping
For a sparkling cider, prime each bottle with a teaspoon of sugar and seal with a crown cap or a swing-top. Leave them somewhere warm for a fortnight, then move them somewhere cool and dark. Be cautious: too much priming sugar plus residual yeast makes bottle bombs, so use sturdy pressure-rated bottles and never ordinary glass.
For still cider, bottle straight from the demijohn into sterilised bottles and cap loosely for a day before sealing. Either way, label with the date and the apple varieties used. Cider made from windfalls is best drunk within a year, though a well-made batch will hold longer.
A few hard-won tips
Sanitation is everything. Everything that touches the juice should be washed and rinsed with a no-rinse sanitiser, from the bucket to the cloth to your own hands. Infection is the single biggest cause of spoiled home cider, and it almost always traces back to laziness at this stage.
Keep notes. Record the date, the weight of fruit, the yeast used and the gravity readings if you take them. Windfall cider varies enormously from year to year because the fruit varies, and the only way to repeat a good batch is to know exactly what you did. And if your first attempt tastes rough, give it another few months in the bottle — cider has a way of redeeming itself with patience.


Leave a reply