


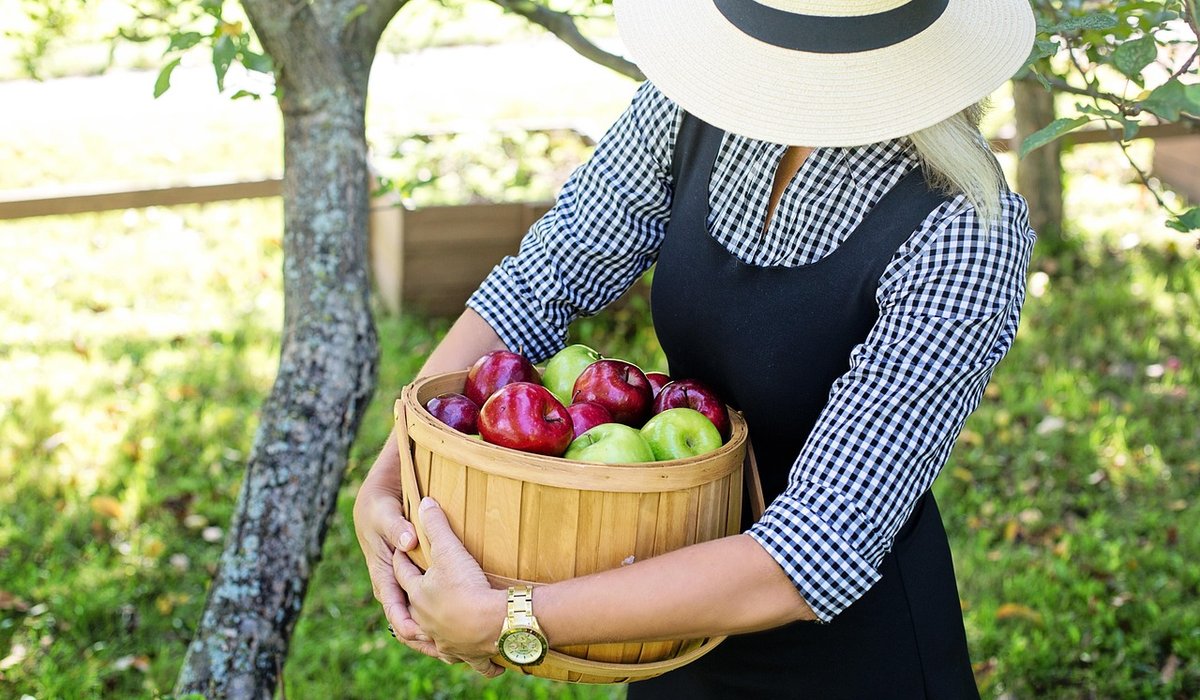
Why the dormant season is the right time
An apple tree in winter is stripped back to its bones, and that is exactly why we prune now. With the leaves gone you can finally see the structure properly: the branches that cross and rub, the congested middle, the dead stub you meant to deal with last year. The tree is dormant, growth has stopped, sap is not moving, and the energy it stored last summer is sitting in the trunk and the roots. Cut now and it answers in spring by pushing out vigorous new shoots roughly where you want them. Make the same cut in midsummer and the response is quite different — you would be slowing the tree down rather than encouraging it.
Winter work also gives you breathing space. There is no blossom to knock off, no fruit to bruise, no wasps to argue with. Just you, a sharp pair of secateurs and a tree that is not going anywhere.
Frost is the one thing to avoid
Dormancy runs roughly from leaf fall until early March, but not every day in that window is a pruning day. Frozen wood is brittle and shatters rather than slicing cleanly, and a fresh cut exposed to hard frost can die back along the branch, leaving you with a wound the tree has to seal a second time. Young trees and anything growing in a frost pocket at the bottom of the garden are particularly vulnerable.
So pick your moment. A mild, dry day with the temperature above about five degrees is ideal, ideally with a few more mild days forecast to follow. If you can see your breath and the ground is ringing underfoot, put the kettle on and wait. Late January into February suits most trees well: the worst of the cold has usually passed, and the cuts have the whole growing season ahead to heal.
Sharp tools and one good cut
Blunt blades crush wood and leave a ragged wound that invites disease, so sharpen or replace before you start. For the actual work you need three things:
- Bypass secateurs for anything up to about the thickness of your thumb.
- Loppers for branches up to roughly four centimetres across.
- A pruning saw for anything bigger, plus a sturdy pair of gloves.
On a thin shoot, cut just above an outward-facing bud, leaving about three millimetres of wood and angling the cut away from the bud so rain runs off rather than sitting in the wound. Aim the bud outwards — that is the direction you want the new shoot to grow, away from the centre of the tree.
For a thick limb, use the three-cut method. First undercut a hand's width out from where the branch meets its parent, then cut from above a little further out, and the branch will fall without tearing a strip of bark off the trunk. Finally, tidy the stub back to the branch collar, the slight swelling where the branch joins. Never cut flush, never leave a long stub. Wipe your blades with a household disinfectant between trees, especially if you have been cutting out canker.
Start with the three Ds
Before you think about shape, remove the obvious. Work through the tree and take out anything that is:
- Dead — brittle, brown wood that snaps instead of bending.
- Diseased — canker shows as sunken, cracked patches; cut back into clean wood well below the damage.
- Damaged — storm-snapped limbs, bark stripped by a mower, branches rubbing together until the bark wears away.
Clear the prunings as you go rather than leaving them on the grass. Burn or bin anything diseased — canker spores travel happily from a heap of infected twigs, so it has no place in the compost.
Open the centre, gently
Apples crop best on a tree shaped like a goblet: a clear, open middle with branches reaching outwards and upwards. Air moves through, light reaches the fruit, and the middle of the tree ripens properly instead of sulking in the shade. So look for branches growing straight up through the centre, or inwards towards the trunk, and take them out at their base. The same goes for strong vertical water shoots on top of the main limbs.
The old test is whether you could throw your hat through the tree without it catching. Keep that picture in mind.
Two rules keep beginners out of trouble. First, never remove more than about a quarter of the canopy in one winter — a tree that loses half its wood panics and produces a thicket of useless shoots. If the job is big, spread it over three winters. Second, step back after every few cuts and look at the whole tree; it is easy to get absorbed in one branch and take far too much.
Know your variety, and know when to stop
Not all apples fruit in the same way, and this matters more than most beginners realise. Spur-bearing varieties such as Cox's Orange Pippin carry their fruit on short, stubby spurs, so shortening growth is fine. Partial tip-bearers such as Bramley's Seedling, and many old cottage varieties, carry much of their crop on the ends of last year's shoots — prune those hard and you cut off this year's apples. On tip-bearers, thin out the congested branches and leave the young shoots alone.
Young trees need only light shaping for their first few winters, building a balanced framework rather than a heavy haircut. Old, neglected trees are best renovated slowly, a quarter at a time. And if your apples end up in a demijohn rather than a fruit bowl, take heart: traditional cider orchards have always been pruned a little more casually than dessert trees, with the fruit's tannin doing the hard work. A morning's careful cutting in February pays you back twice over — with blossom in May, and with a decent crop come autumn.


Leave a reply